
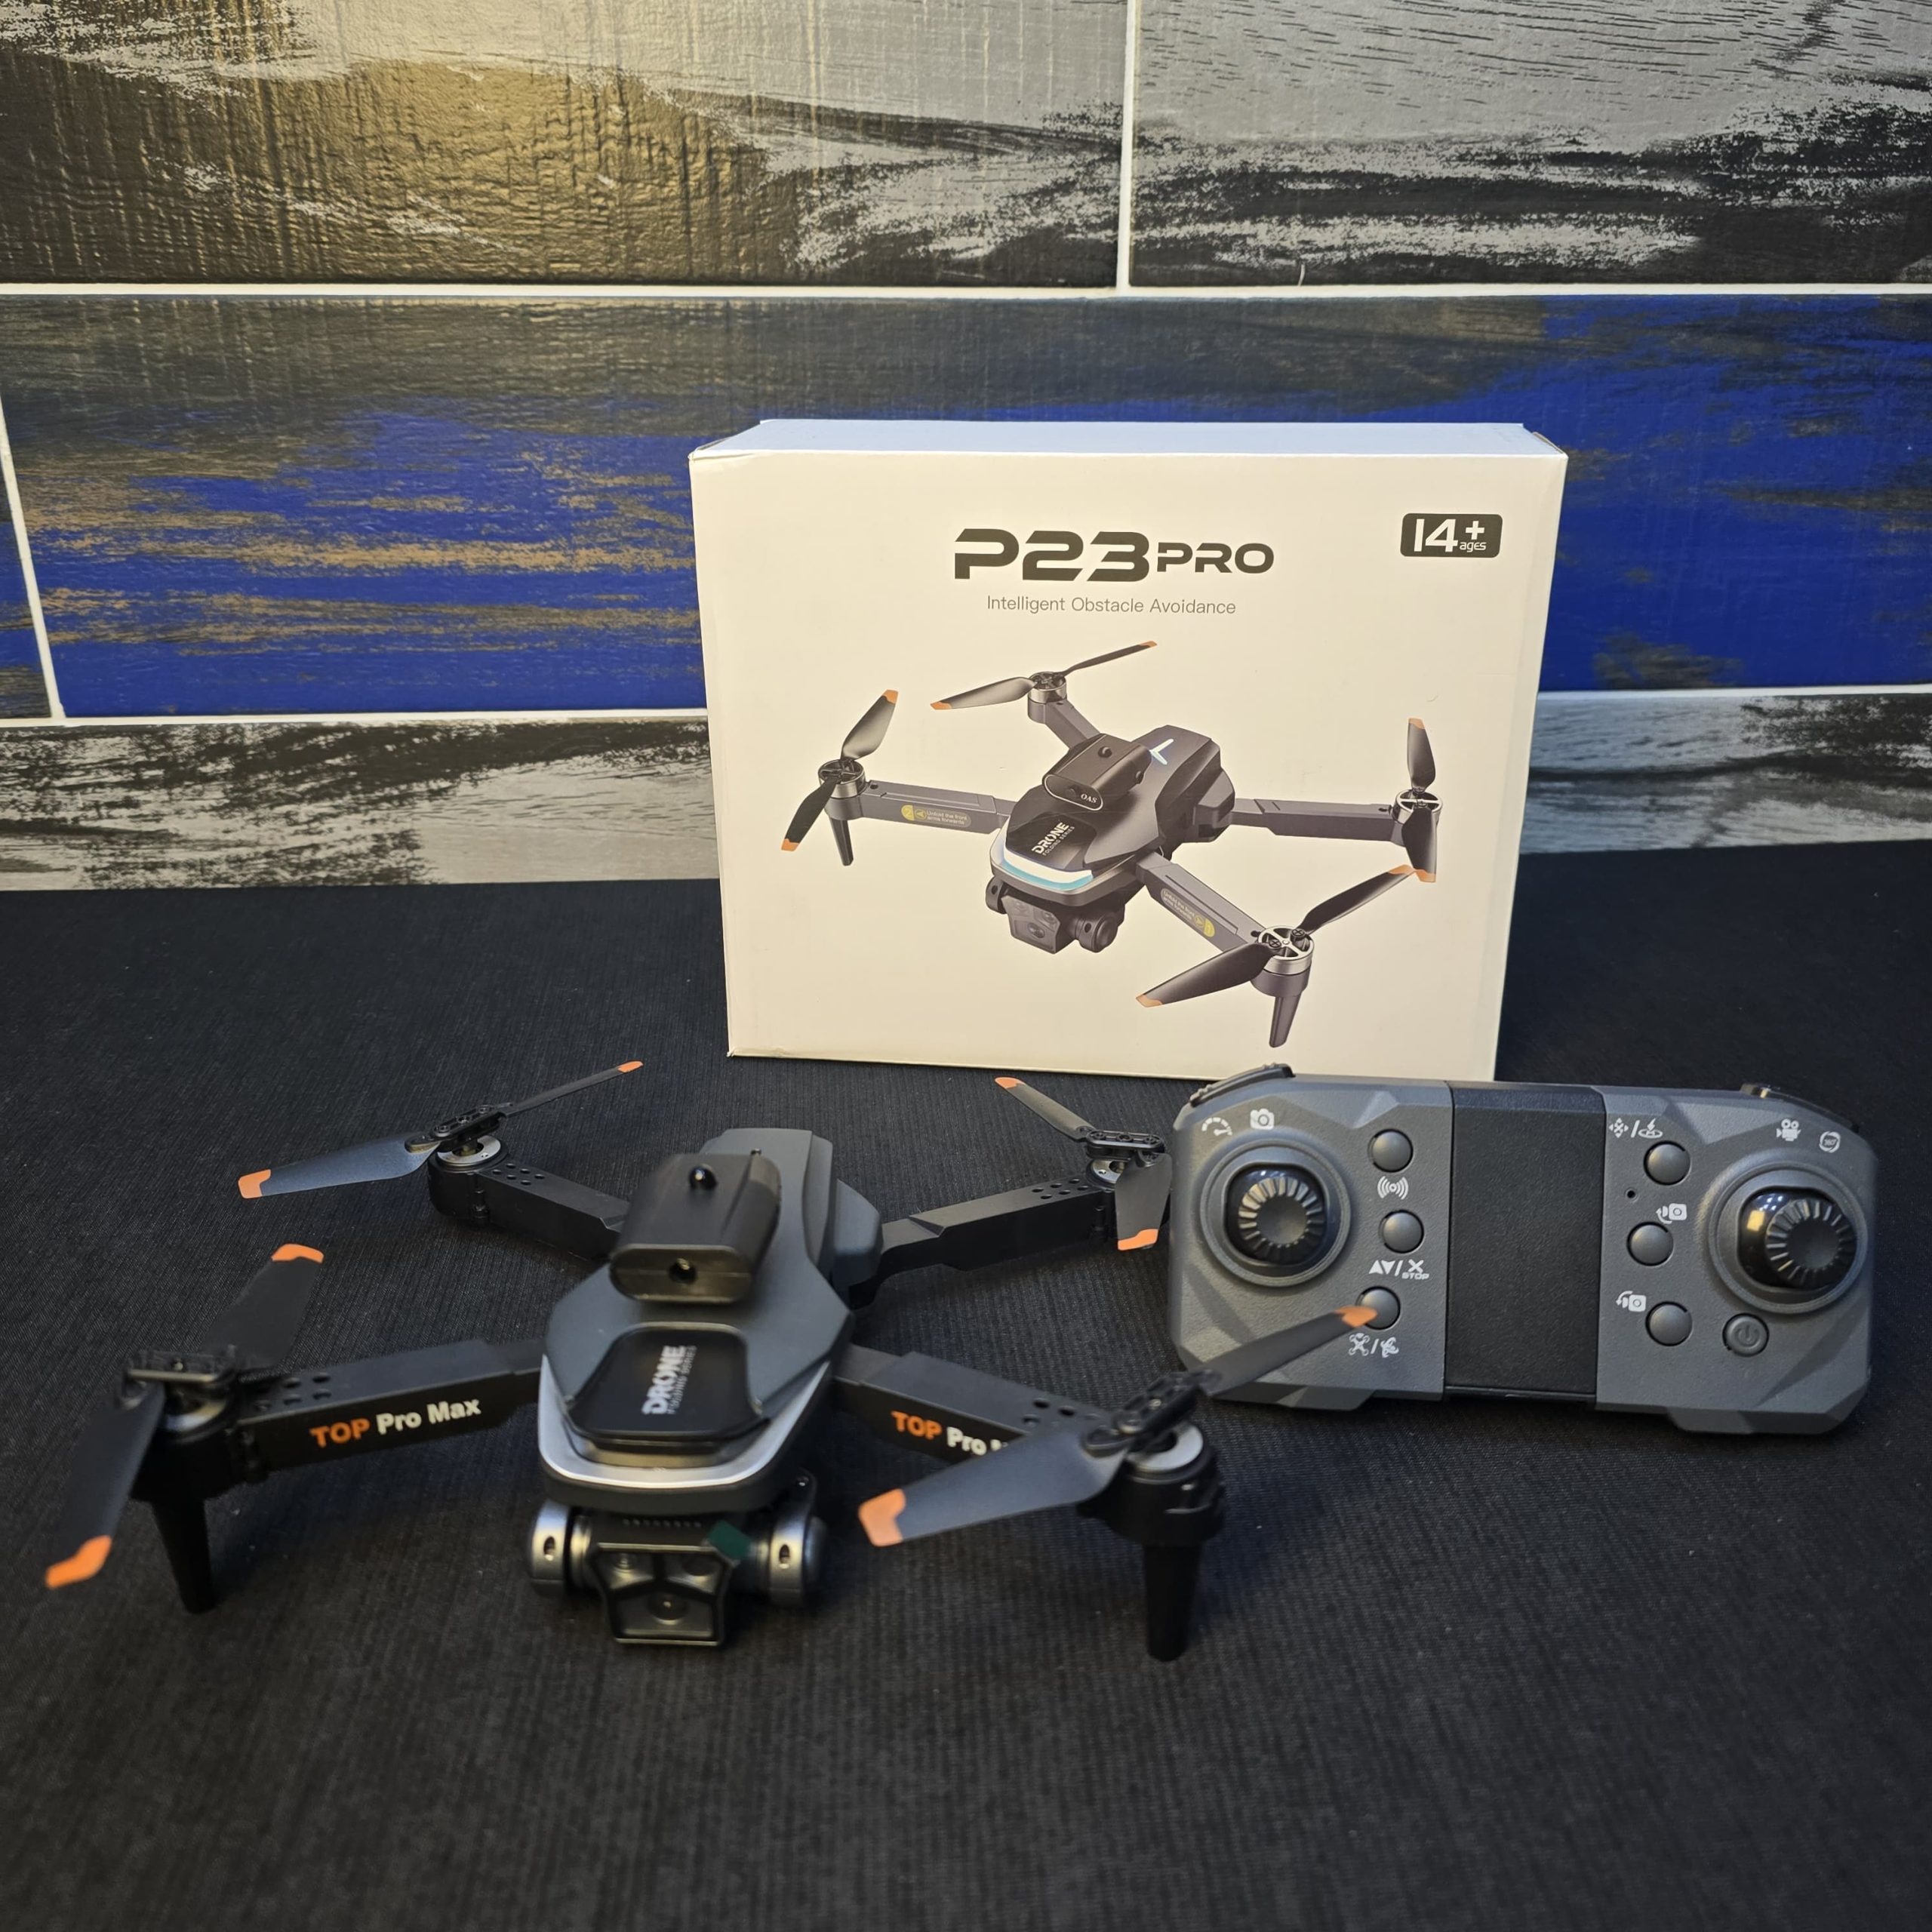
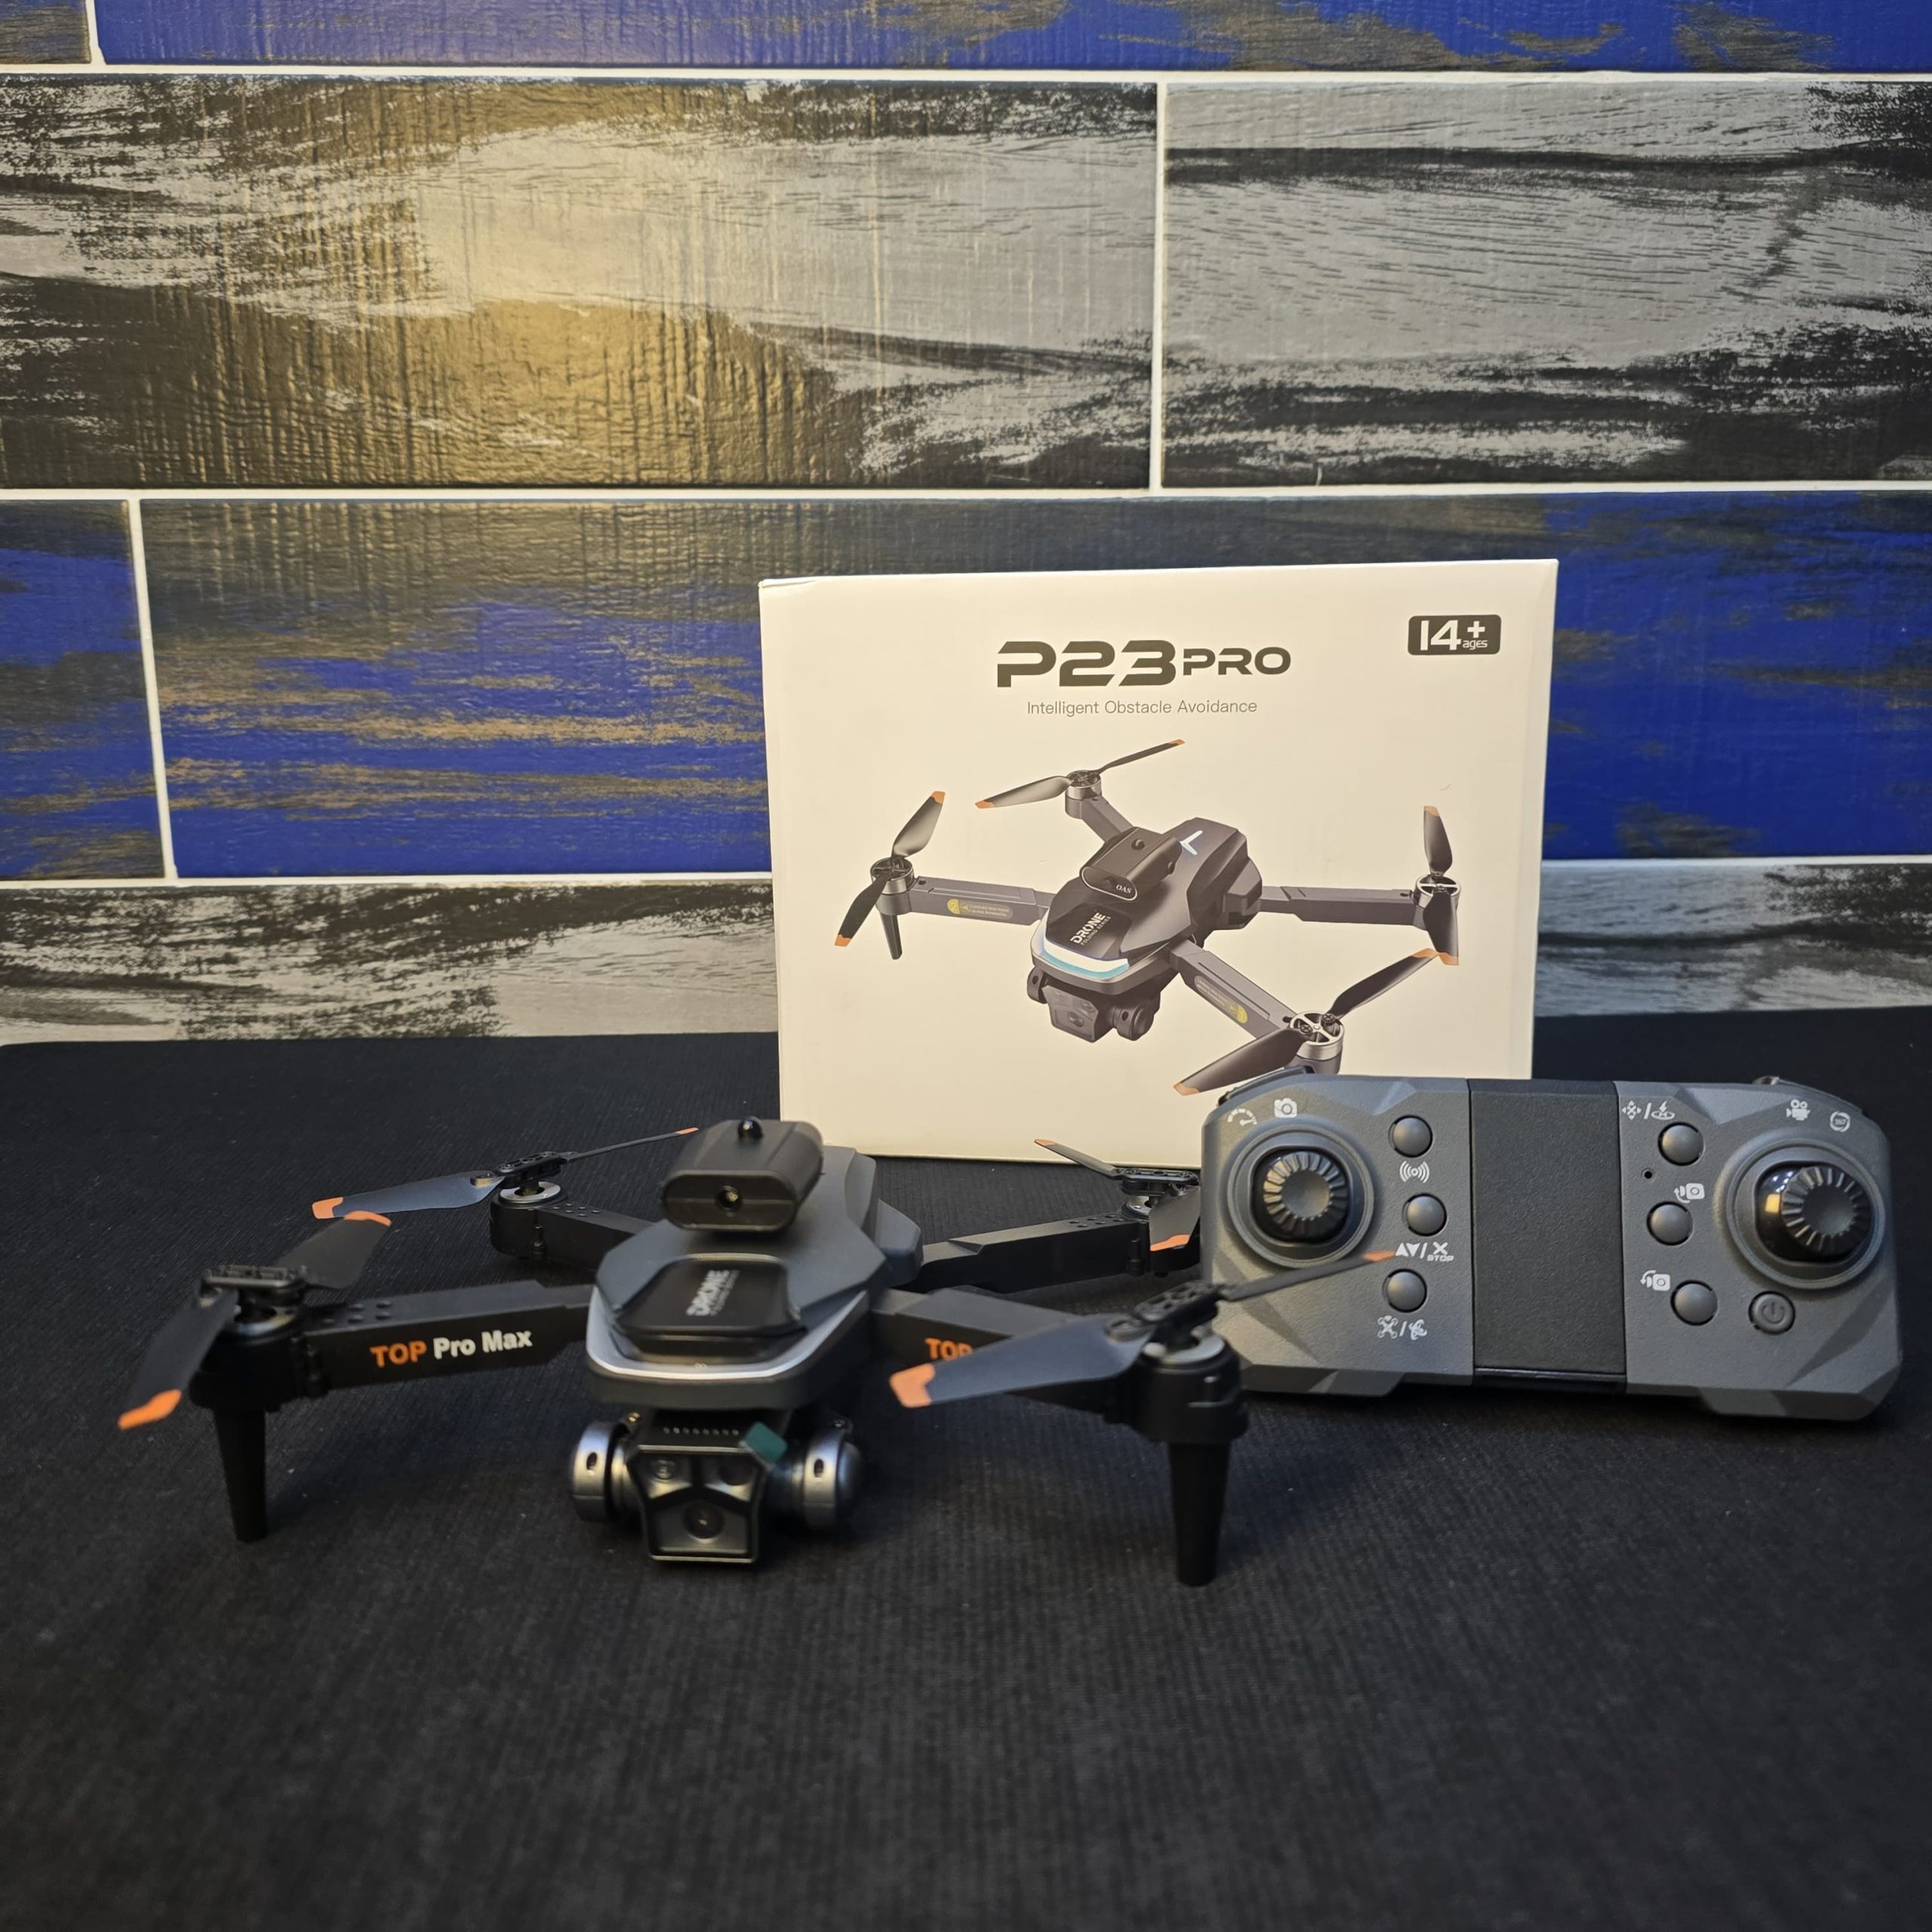
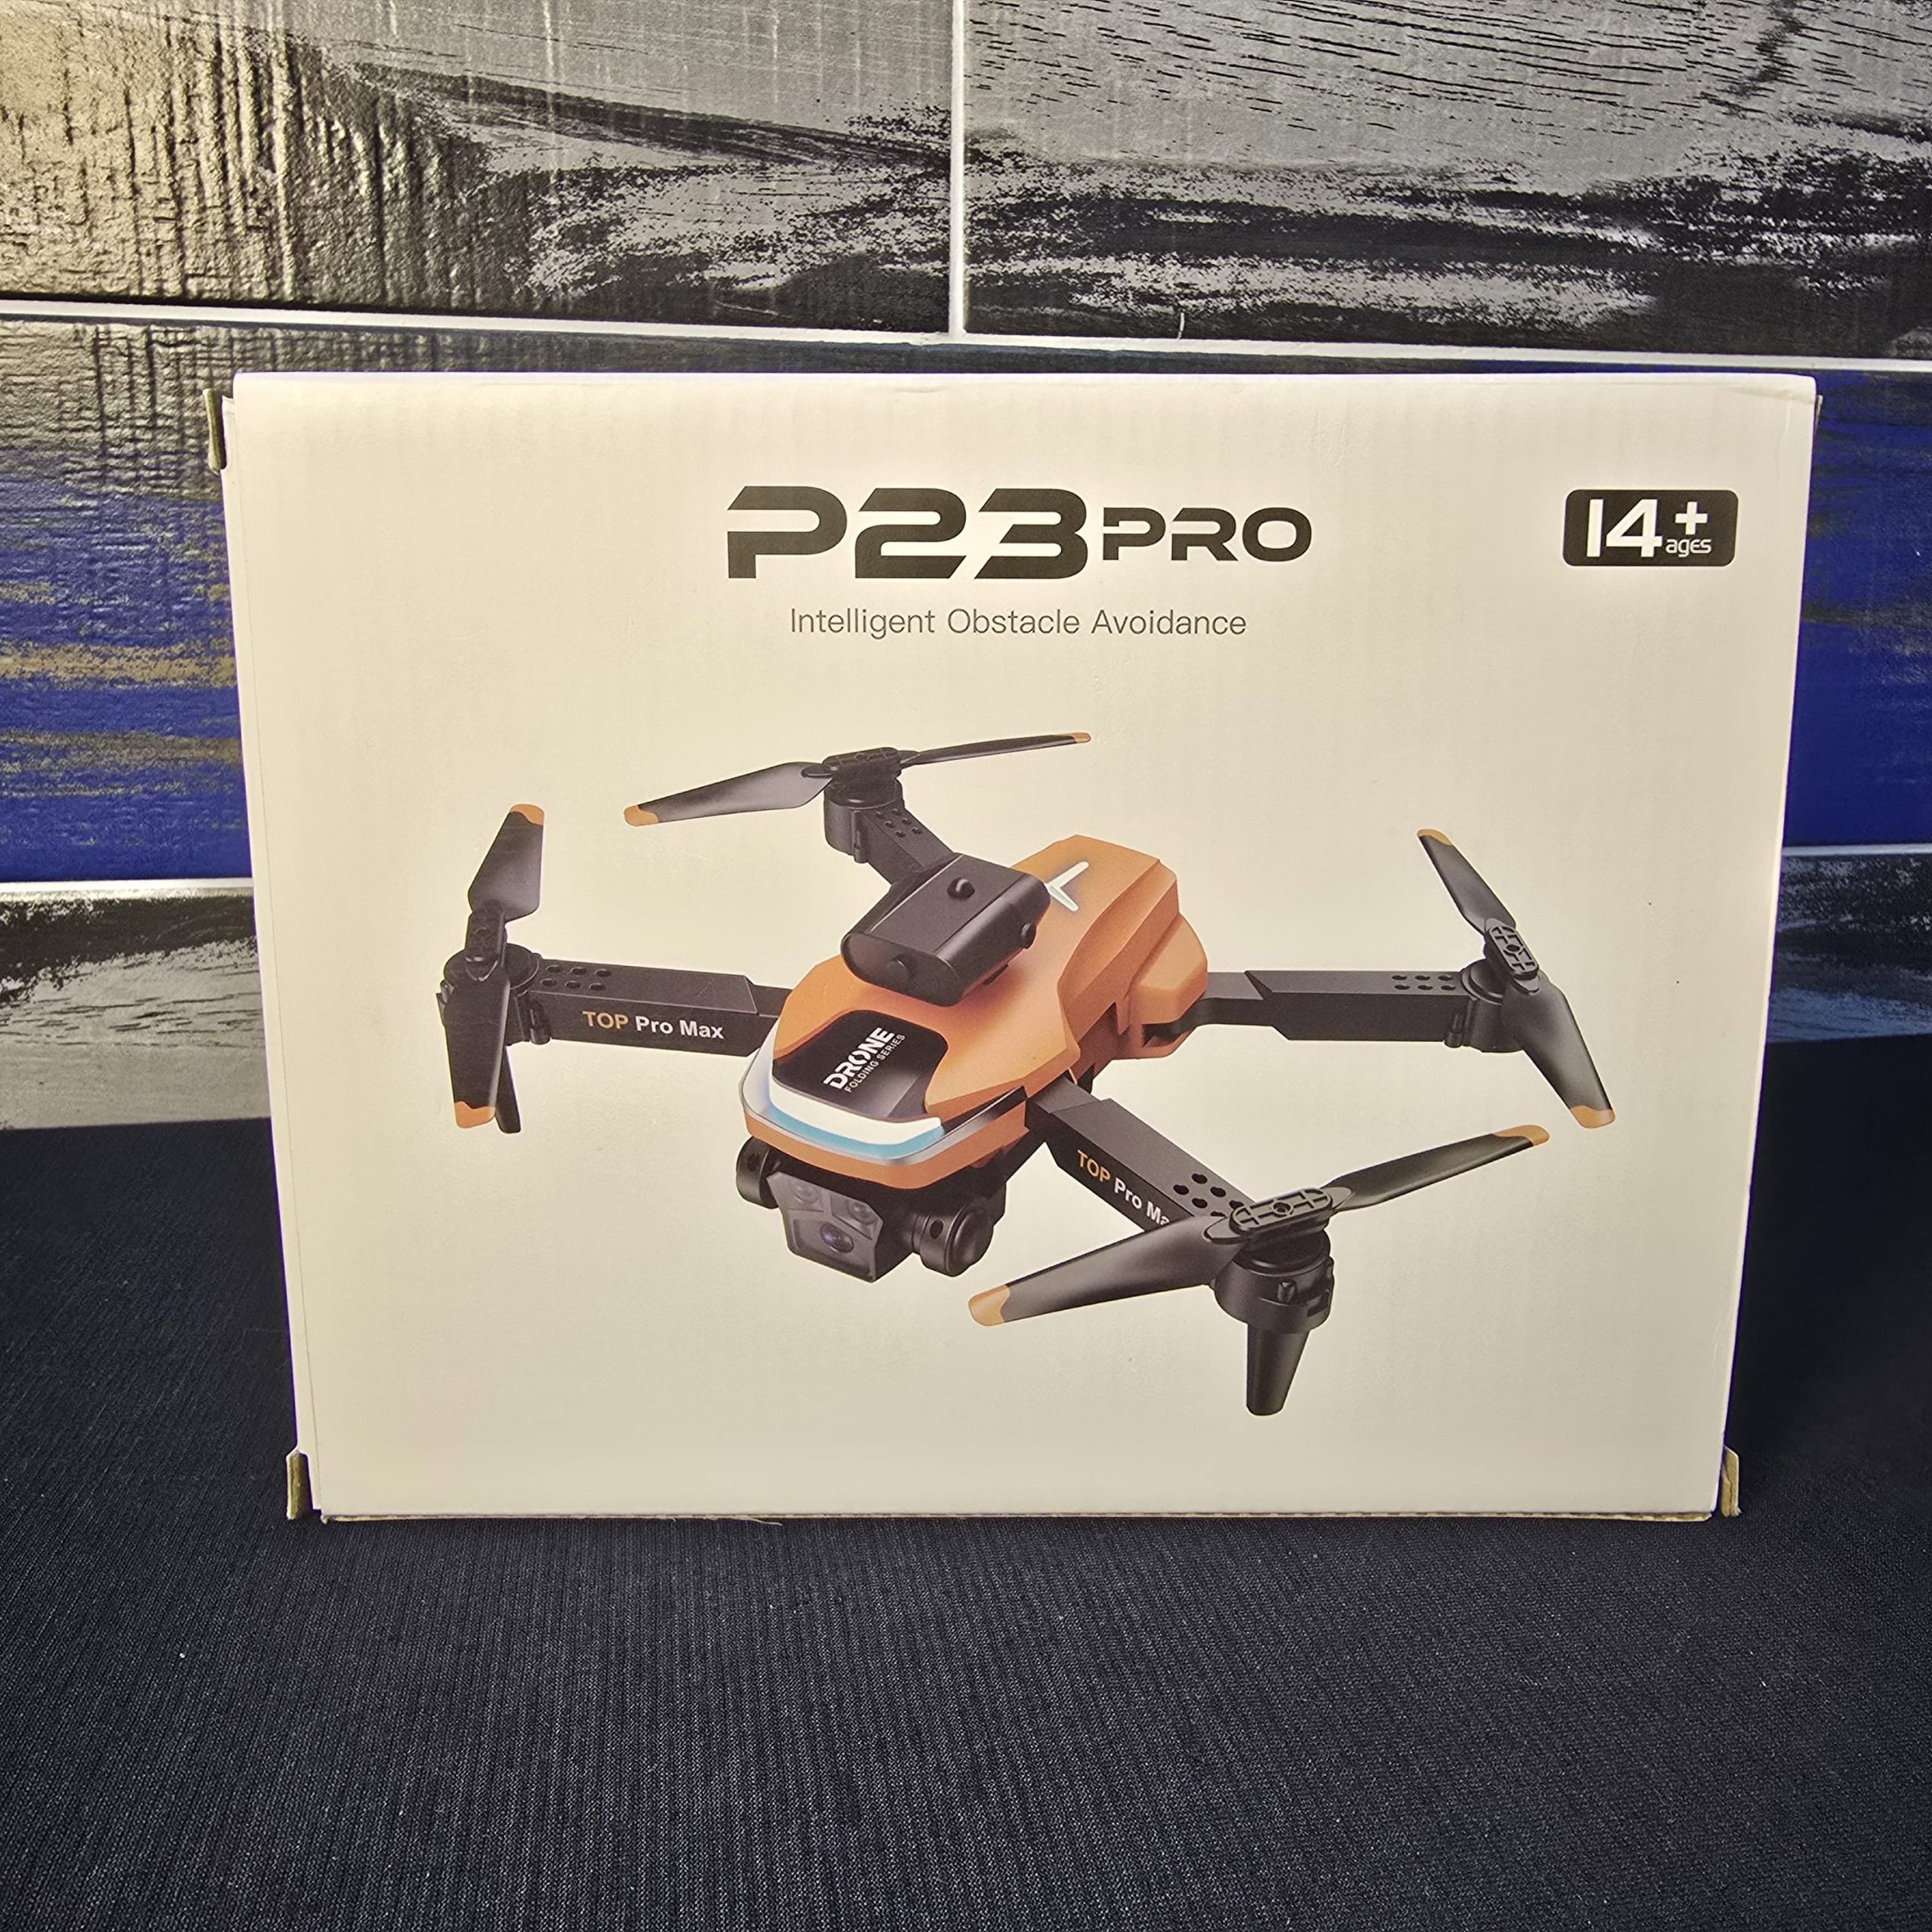
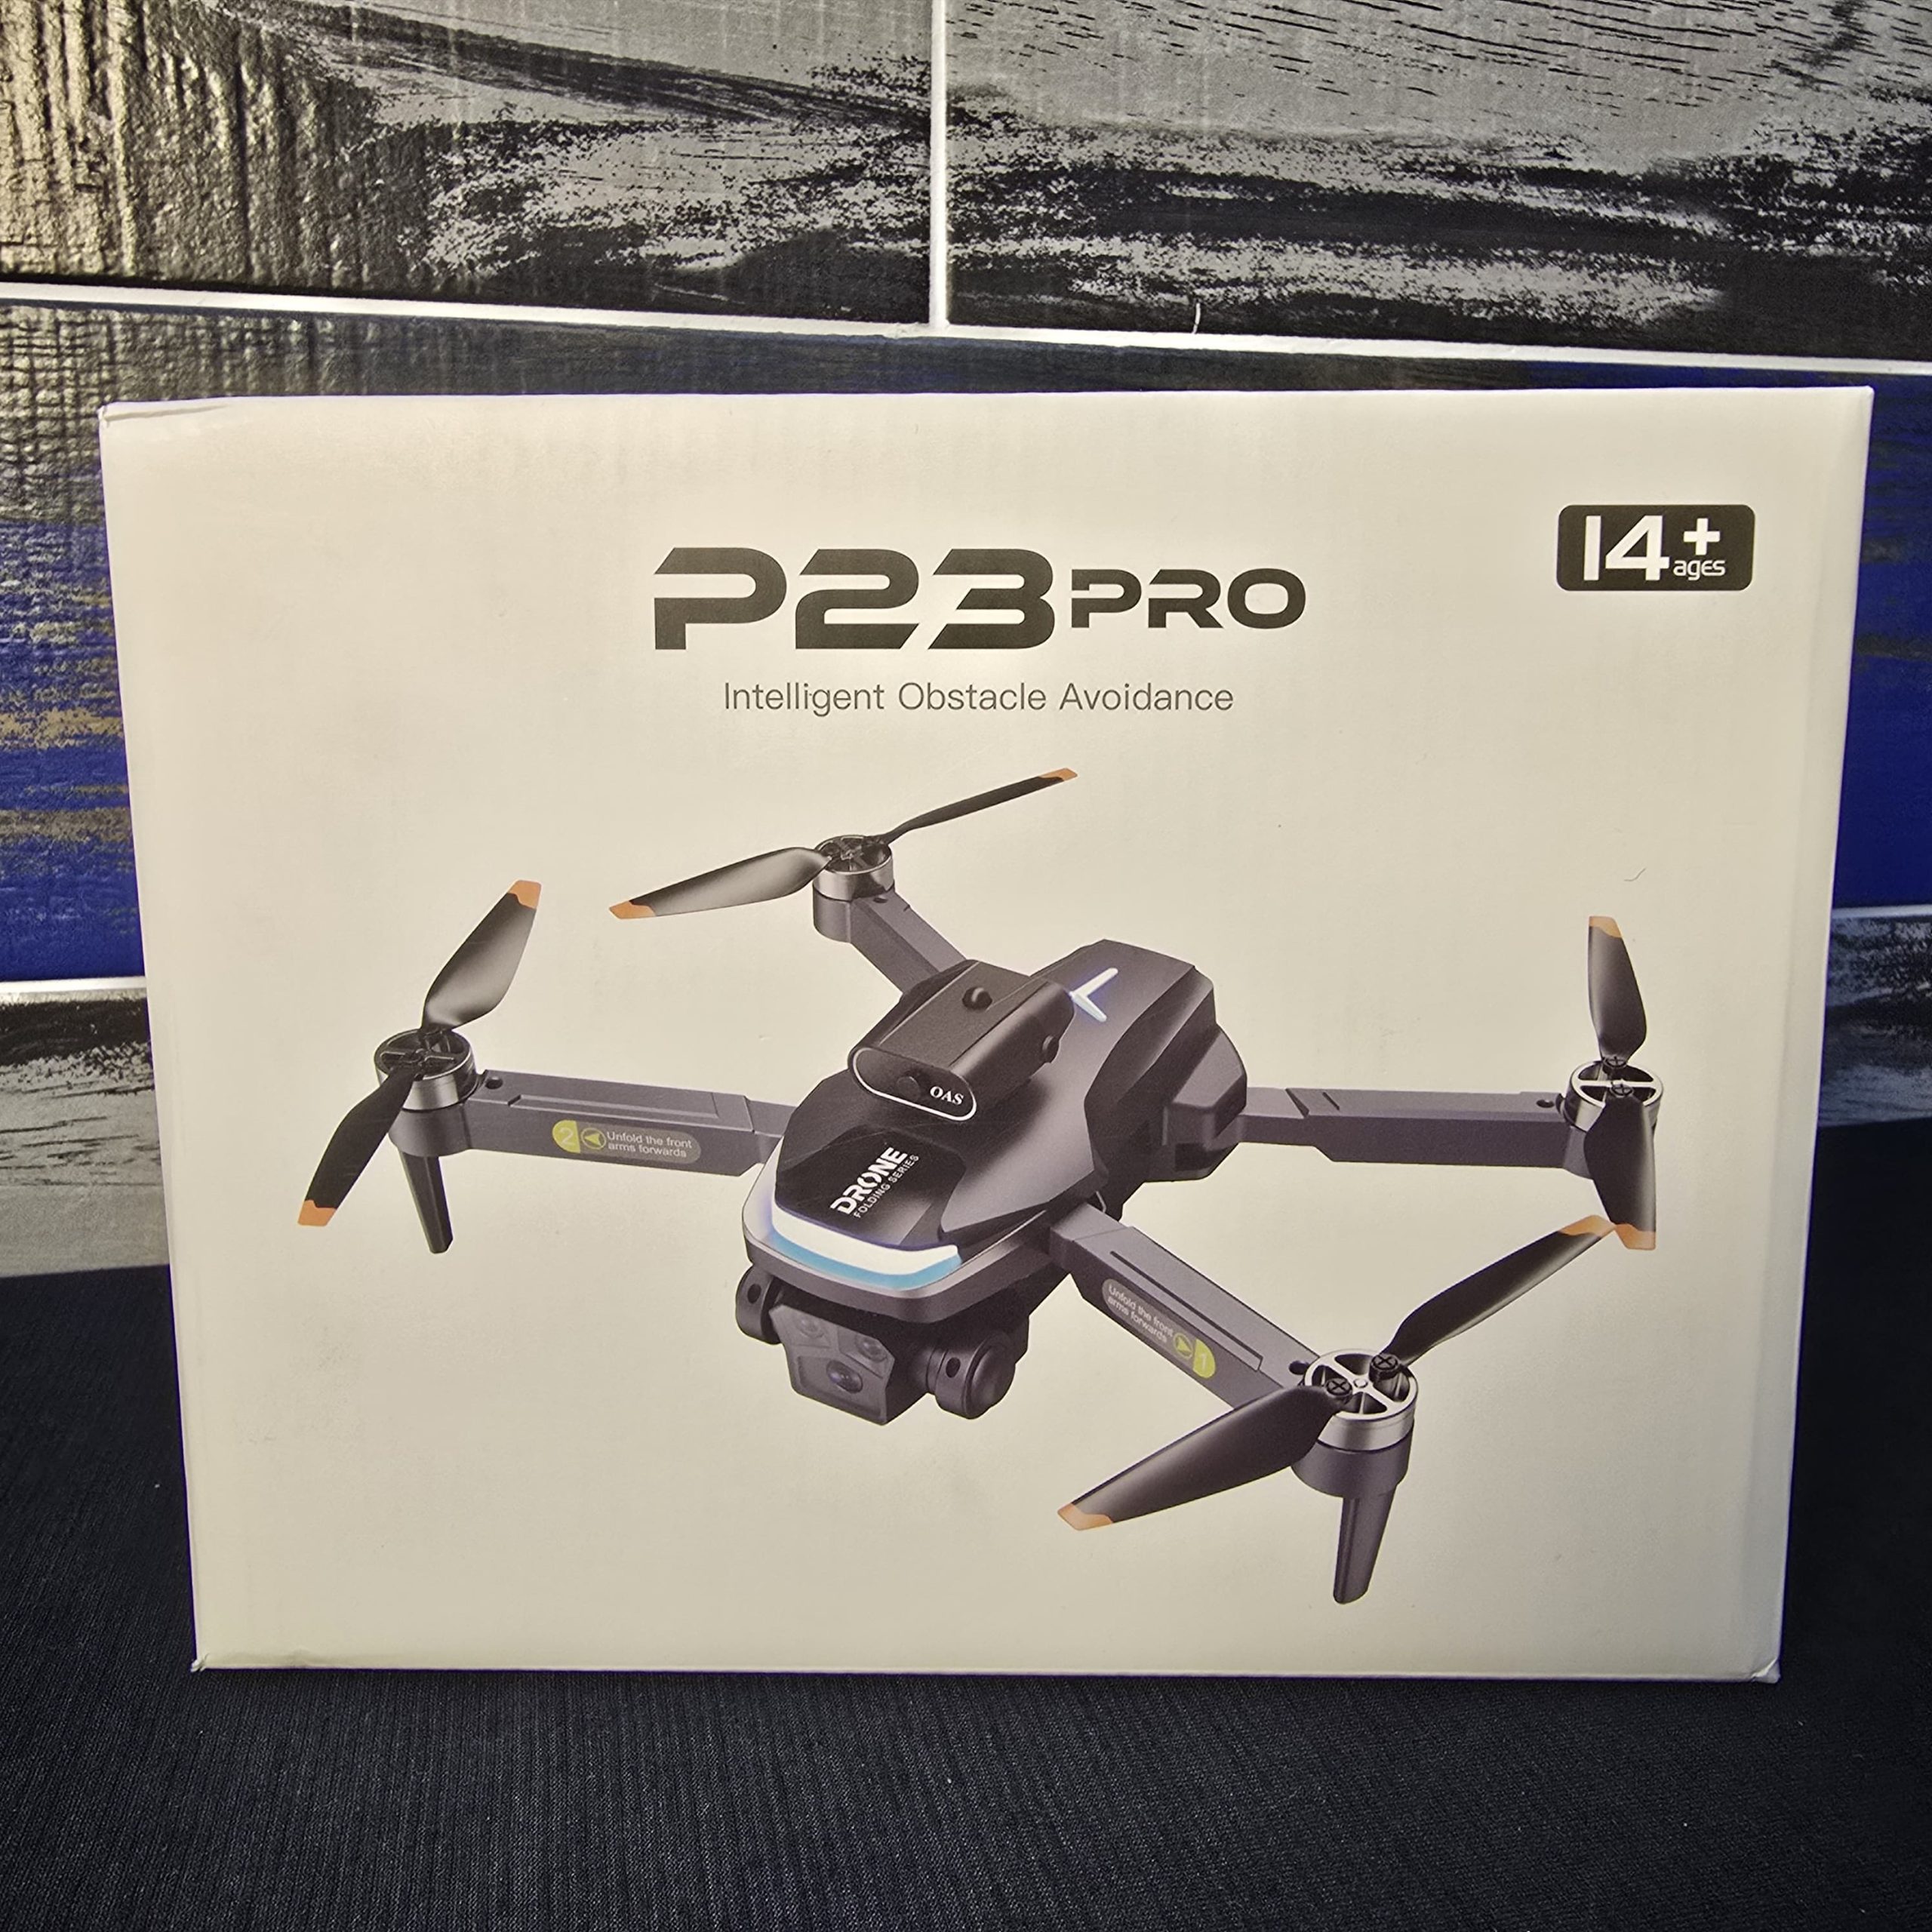
P23 Pro (Top Pro Max)
Original price was: ₨ 9,999.₨ 7,999Current price is: ₨ 7,999.
Description
🛠 Pre-Flight Setup & Preparation
Before you power anything on, follow these steps to ensure the drone is physically ready to fly:
-
Charging the Batteries:
-
Locate the modular battery (usually slides into the rear or bottom of the drone). Use the provided USB charging cable.
-
Tip: Always charge via a laptop or a low-output wall adapter (5V/1-2A). Fast chargers for phones can sometimes overheat these smaller LiPo batteries.
-
Charge the controller as well if it has a built-in battery; otherwise, insert fresh AA/AAA batteries as required.
-
-
Unfolding the Arms:
-
Unfold the front arms first, followed by the rear arms.
-
Check the propellers for any nicks or cracks. Since yours have orange tips, ensure they are securely fastened.
-
-
The Obstacle Avoidance Module:
-
In your photo, the small black box mounted on top is the OAS (Obstacle Avoidance System) sensor. Ensure it is clicked firmly into its slot. This uses infrared to detect walls and objects to prevent crashes.
-
🕹 Understanding the Remote Control
The controller layout for the P23 Pro is designed to be intuitive. While specific buttons can vary by manufacturer, here is the standard layout for this model:
| Control | Function |
| Left Joystick | Altitude & Rotation: Push up/down to rise or sink; push left/right to rotate (yaw) the drone in place. |
| Right Joystick | Directional Flight: Push up/down for forward/backward; push left/right for side-to-side (roll) movement. |
| One-Key Takeoff/Land | Usually a button with an arrow pointing up/down. Press once to hover at roughly 1.5 meters. |
| Speed Switch | Usually a shoulder button. Cycles between Low (beginner), Medium, and High (windy conditions) speeds. |
| Headless Mode | Allows you to fly the drone based on your orientation rather than where the drone’s “nose” is pointing. |
🚀 The Launch Sequence
To ensure the drone flies stable and doesn’t “drift” immediately, follow this specific pairing and calibration sequence:
1. Pairing
-
Place the drone on a completely flat, level surface.
-
Turn on the drone first (usually a long press on the top button). Its lights will flash rapidly.
-
Turn on the remote. Push the Left Joystick all the way UP and then all the way DOWN. The lights on the drone should turn solid, indicating a successful link.
2. Gyro Calibration (Crucial!)
-
If your drone drifts, it’s likely because the internal gyroscope isn’t leveled.
-
Push both joysticks to the bottom-right corners (at a 45° angle) and hold for 2-3 seconds. The drone lights will flash rapidly and then turn solid.
3. Connecting the App
-
Scan the QR code in the manual to download the flight app (often “WiFi UAV” or “KY FPV”).
-
Go to your phone’s Wi-Fi settings and connect to the signal starting with “Flow_XXXX” or “P23_XXXX”.
-
Open the app and press “Start” to see the live camera feed.
⚠️ Essential Safety Tips
-
Fly Outdoors First: Even with obstacle avoidance, these drones are best learned in a wide-open grassy area.
-
Mind the Wind: Because this drone is lightweight, it can be easily carried away by gusts. Only fly on calm days.
-
The “Emergency Stop”: Most of these controllers have a button (often marked with a stop sign or “X”) that cuts power to the motors instantly. Use this only if you are about to hit something and want to minimize damage.
Related products
-
Sale!

Lollipop Design Makeup Kit For Kids
Original price was: ₨ 1,800.₨ 1,400Current price is: ₨ 1,400. Add to cart -
Sale!

Non-Toxic Kids Art Set – Coloring, Drawing & Painting Kit – 128 Pcs
Original price was: ₨ 4,500.₨ 3,500Current price is: ₨ 3,500. Add to cart -
Sale!

SUP 400 in 1 Games Retro Game Box Console Handheld Game
Original price was: ₨ 3,200.₨ 2,200Current price is: ₨ 2,200. Add to cart -
Sale!

Dancing Cactus Repeat Talking Toy
Original price was: ₨ 1,800.₨ 1,300Current price is: ₨ 1,300. Add to cart
Reviews
There are no reviews yet.